|
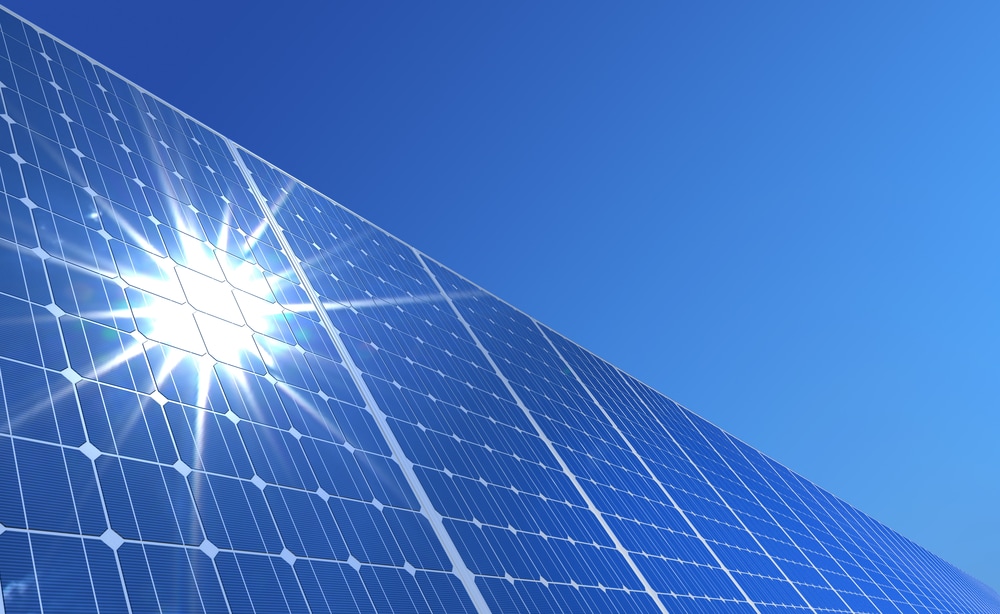
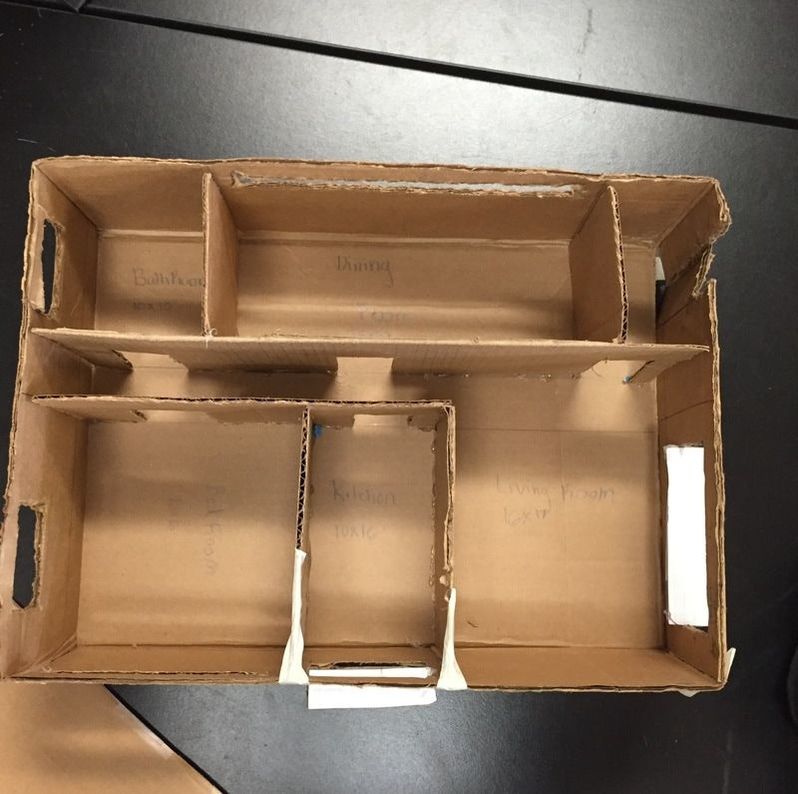
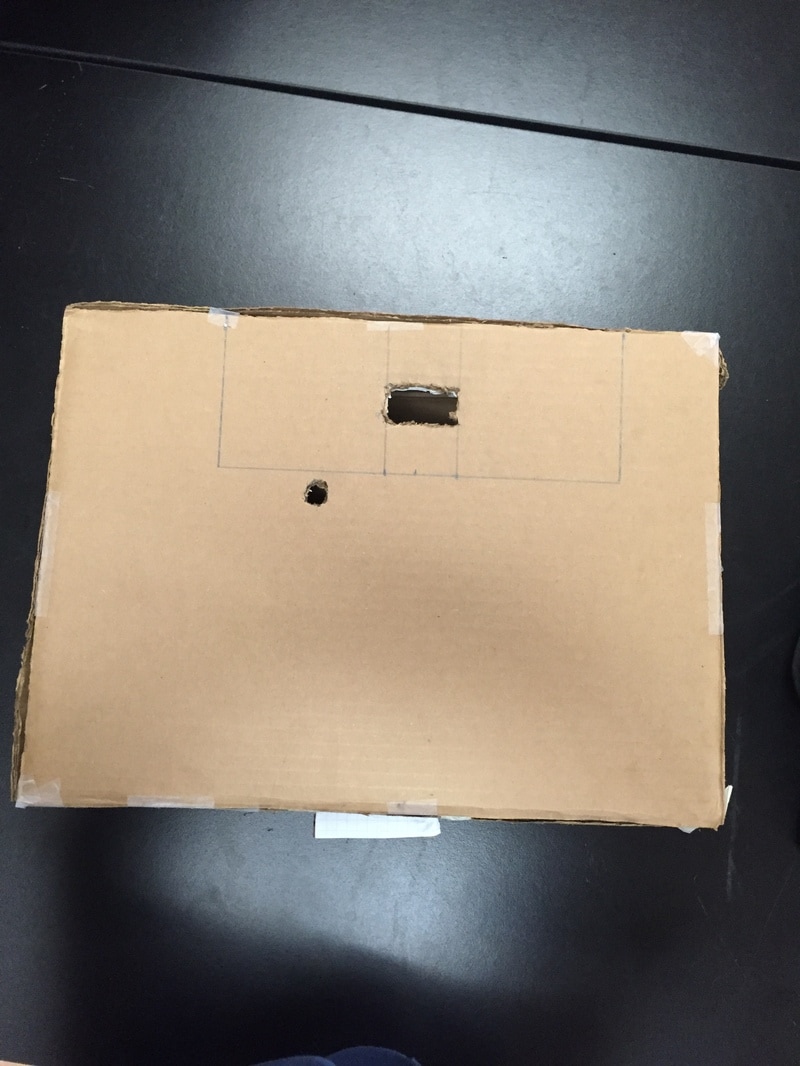
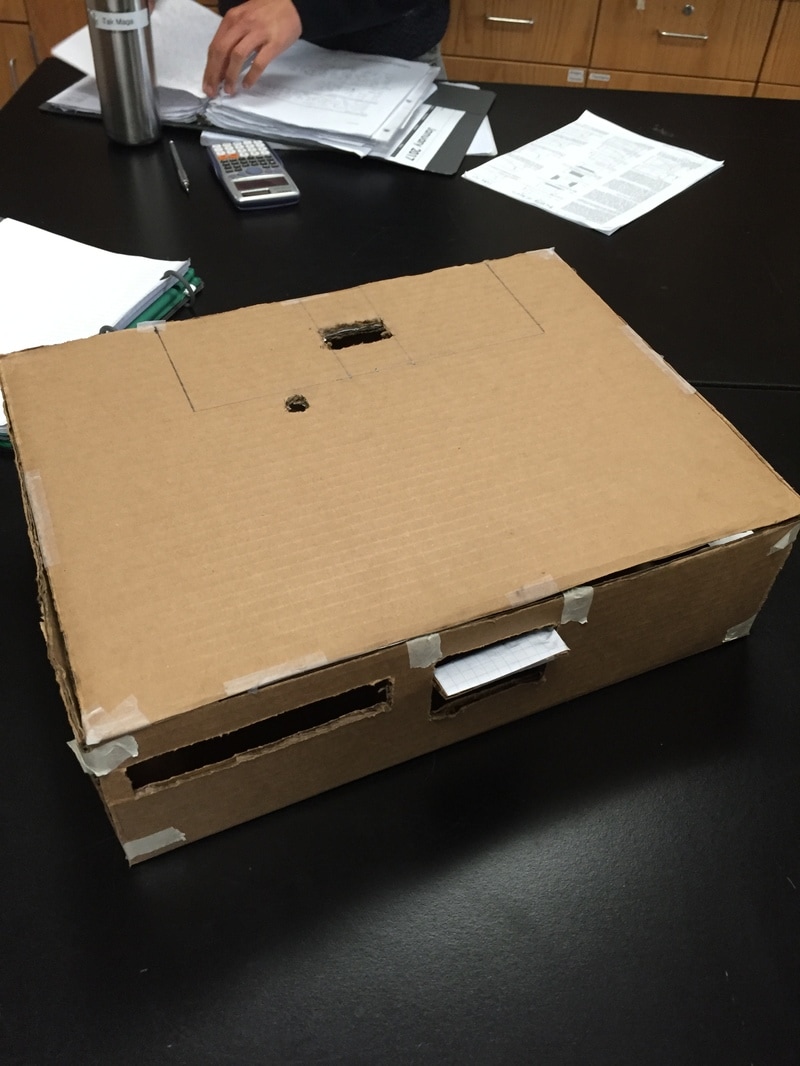
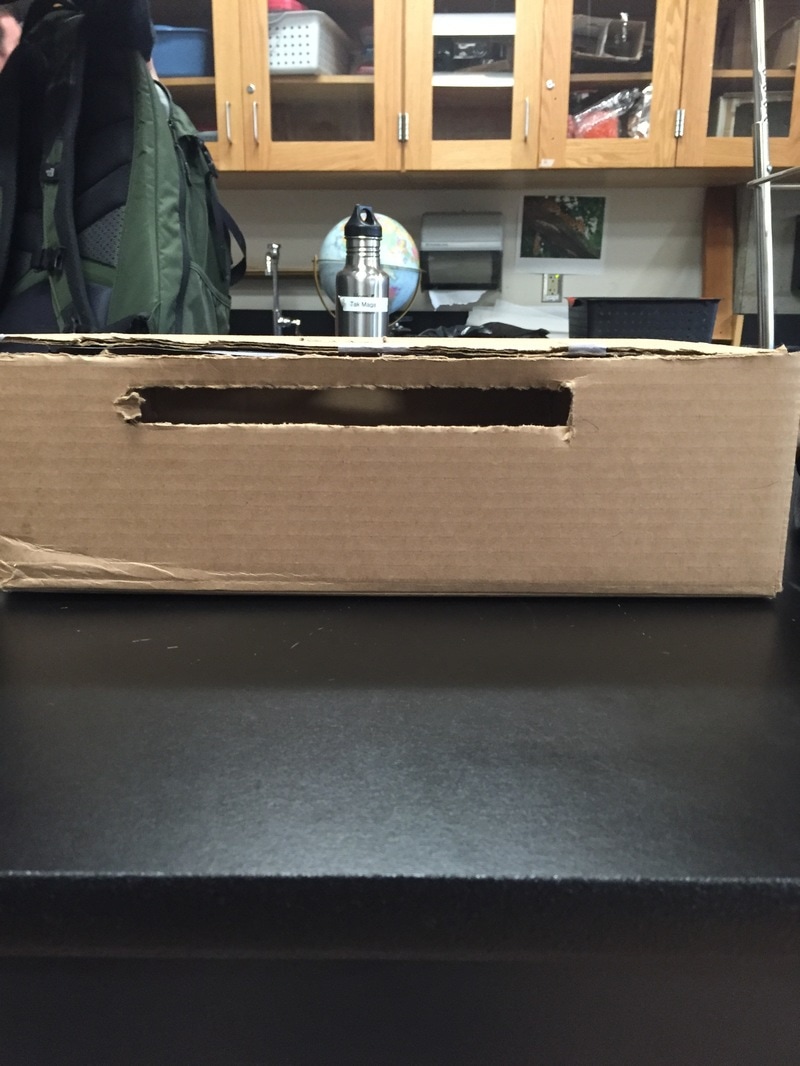
The Focus of this Project is to Create a Passive Solar Tiny House
|
|
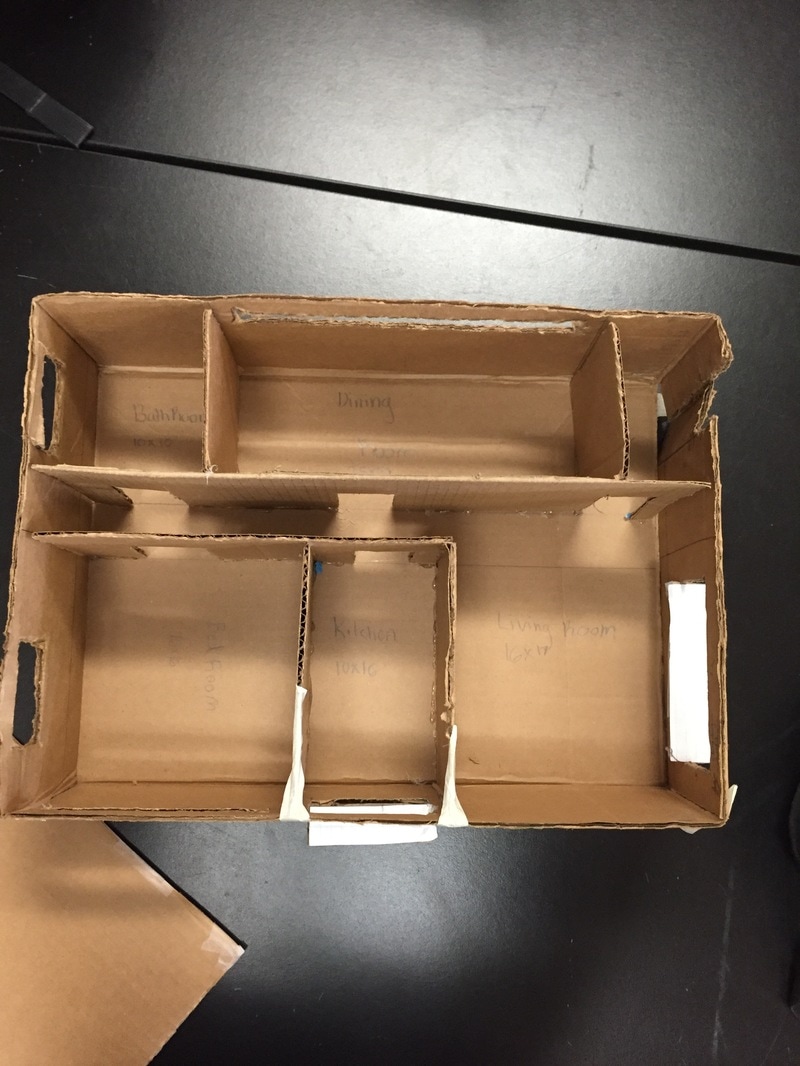
In this day and age, a present problem is global problem is global warming. To help alleviate this effect, a growing trend is to own a tiny house. These houses are built to have minimal emissions, and to have little wasted space. Therefore, for this project, we were to design a tiny house. We were to have a model, either 3-D digital or physical (we did both), a full budget, blueprints, and presentation. However, before we even started to design our house, we decided to do several tests beforehand. These are listed below.
More Than One Problem
Daylighting ModelHow to achieve maximum sunlight efficiency |
Solar Water HeaterHeating water with the power of the Sun |
Heat Materials LabWhat materials work the best in terms of heat? |
Daylighting Model
Scroll over the pictures to view the captions.
Purpose: To try and find the most efficient way to light our tiny house
Solar Tubes
Solar tubes are similar to skylights in that they are a hole in your roof, but instead of being a pane of glass, they are a domed roof connected to a reflective tubing that leads indoors. This takes outside light and bounces it through the tube until it gets inside your house. These are cheaper than skylights, but provide equal lighting.
Skylights
The principle of a skylight is relatively simple. It is essentially a hole in the ceiling and roof a home to allow light in. However, this creates complications, as skylights are expensive to build and maintain, and are prone to leakage.
Clerestory Windows
The purpose of a clerestory window is not to provide a view, but rather to light up a room. It achieves this by being a short window located close to the ceiling of a room. By doing this, it allows light in to reflect upon the facing wall and onto the floor. The picture on the above right is of a clerestory window.
Light Shelves
Light shelves are a simple but effective devices. They essentially bounce light from outside through window, onto the ceiling, and then onto the floor. They are usually white, and extend around a foot from the window. We used them not only to reflect light into our house, but also to block summer light and throw it inside in an indirect way.
Radiation
Radiation is one of the three ways heat is transferred between materials. In radiation, heat "radiates" in rays and waves, hence the name. Unlike the other methods of heat transfer, no medium is required. An example of radiation would be found in the Sun, where heat and light is radiated outwards.
Convection
The second of the three methods of heat transfer, convection occurs mainly in liquids and gases. When one of these materials is heated, the heat is concentrated at the area closest to the heat source. From there, the now less dense heated material rises upwards. While it does this, it cools and becomes more dense. Once it has done so, it sinks to the bottom of the chamber. From there, it is heated, and the process repeats. This creates a circular pattern of heat transfer.
Conduction
The last of the three heat transfer methods, conduction is probably the most simple. Conduction occurs when an material with more heat comes into direct contact with a cooler object. From there, the heat flows to the cooler object until they are in equilibrium. Conduction happens with solids.
Inusulation
Insulation is a term given to objects that do not conduct heat very well. We say that they have high thermal resistance.
Heat
When the temperature of an object increases, the molecules start moving more, as more energy is imputed. The energy that comes from the movement of the molecules is referred to as heat. Therefore, the higher the temperature, the higher the heat, and the more energy. This also means more movement, and a lower density as the molecules expand . This means that pressure decreases. The formula for heat is mass times the specific heat value for the material times change in temperature.
Specific Heat Capacity
The specific heat of a material is defined as how many calories (heat) is required to raise one gram of the object one degree Celsius. Practically, this means that an object with a high specific heat capacity heats and cools slowly, while one with a low specific heat capacity heats and cools quickly. Water has a high specific heat capacity, at 1 calorie per gram degrees Celsius.
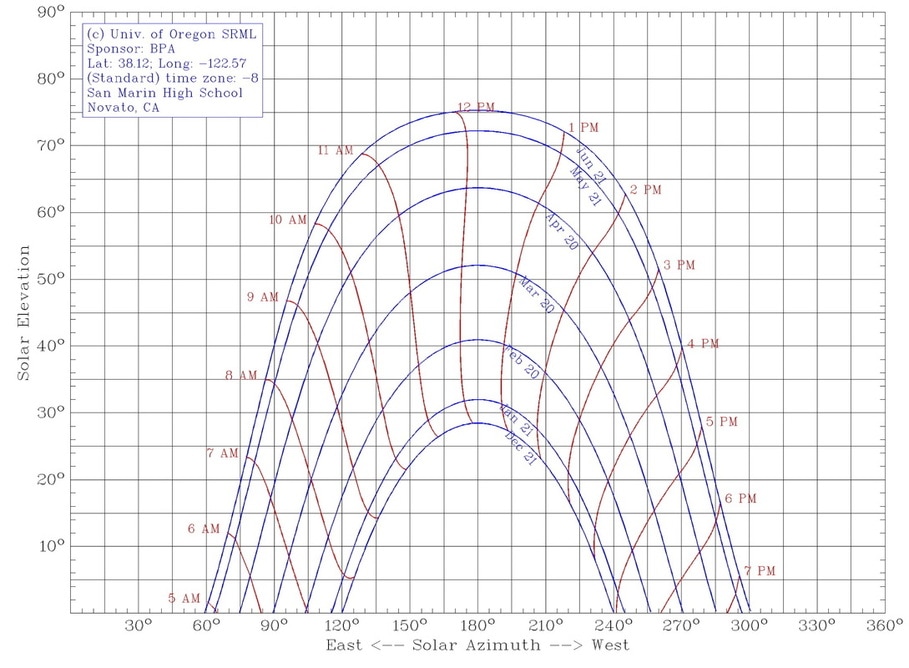
Light Angles
Most of us know that the Sun rises in the East and sets in the West. This means that architects have to account for most sunlight coming in the South side of the building. Also, variability in the Sun's rays creates other problems as well. In the summer, the angle of the Sun is relatively steep when compared to the winter, with its low angles. Therefore, a building should be designed to allow direct sunlight in during the winter, but only indirect sunlight in the summer in an effort to keep the building cool.
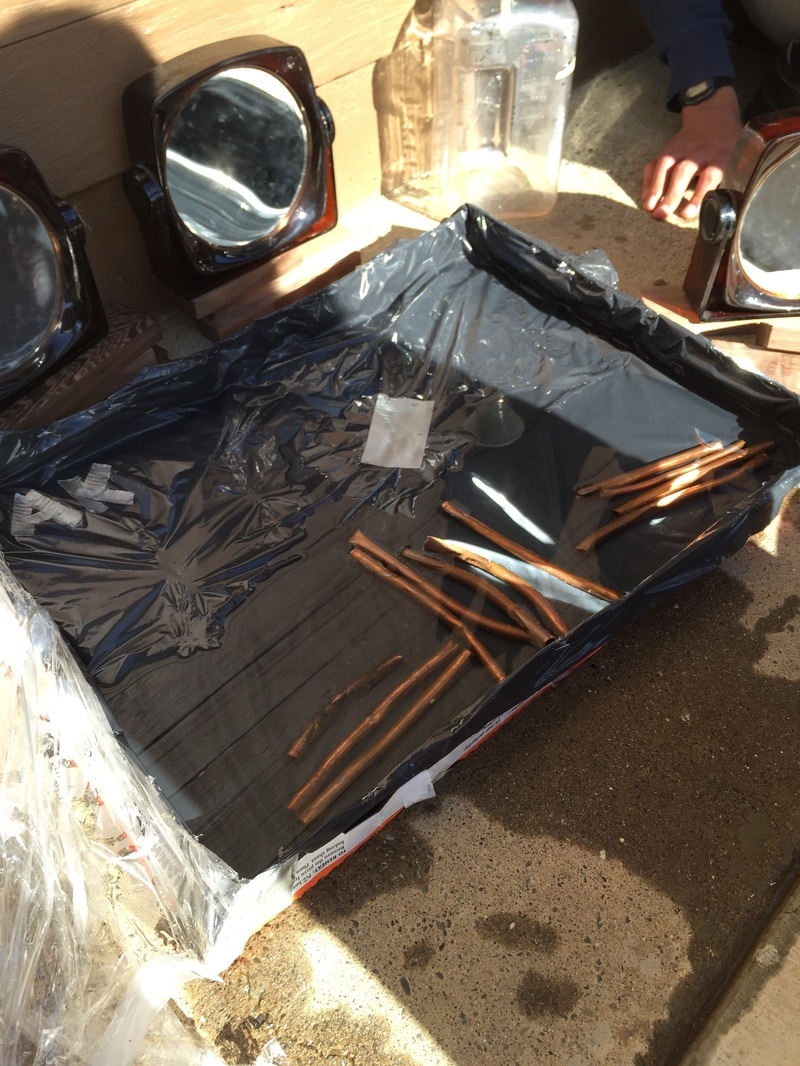
Solar Water Heater

Purpose: To try and use the Sun's energy to heat up water
JOULES OF
HEAT ADDED
Our prompt for this project was to "design a device that uses energy to heat water". The words "make it sustainable" were added later to ensure we did not start a fire with a magnifying glass and heat our water that way. Other than that, we were given much freedom in what we were allowed to do. We were also issued pieces of copper piping to use as we saw fit. The purpose was to create an Eco-friendly water heater that could be used independently of the municipal grid. This could be used to mount on our tiny-house.
Our plan was extremely simple, and revolved upon the concept of having the largest surface possible open to the Sun's rays. We accomplished this by having our base being an open pizza box. Upon this, we put down a black trash bag for insulation, heating, and waterproofing. We also put down 3 sets of copper piping towards the downward sloping end of the box. Over this, we layered saran-wrap to create a greenhouse effect. Separate of the main assembly, we had a set of 4 mirrors; one for each side set of copper piping, and two for the middle set. To ensure proper coverage, we set the mirrors on blocks of wood.
This is one section of the project that we can write of as a success. With almost 100 KJ of heat added to the 1400g of water for a rise of 17 degrees Celsius during a 70 minute period, we can boast of being the best in the class. After analyzing the results, we can point to our large amount of water used in combination with our large surface area as the catalysts for our project.
Heat Materials Lab
Purpose: To find the best building materials in terms of heat
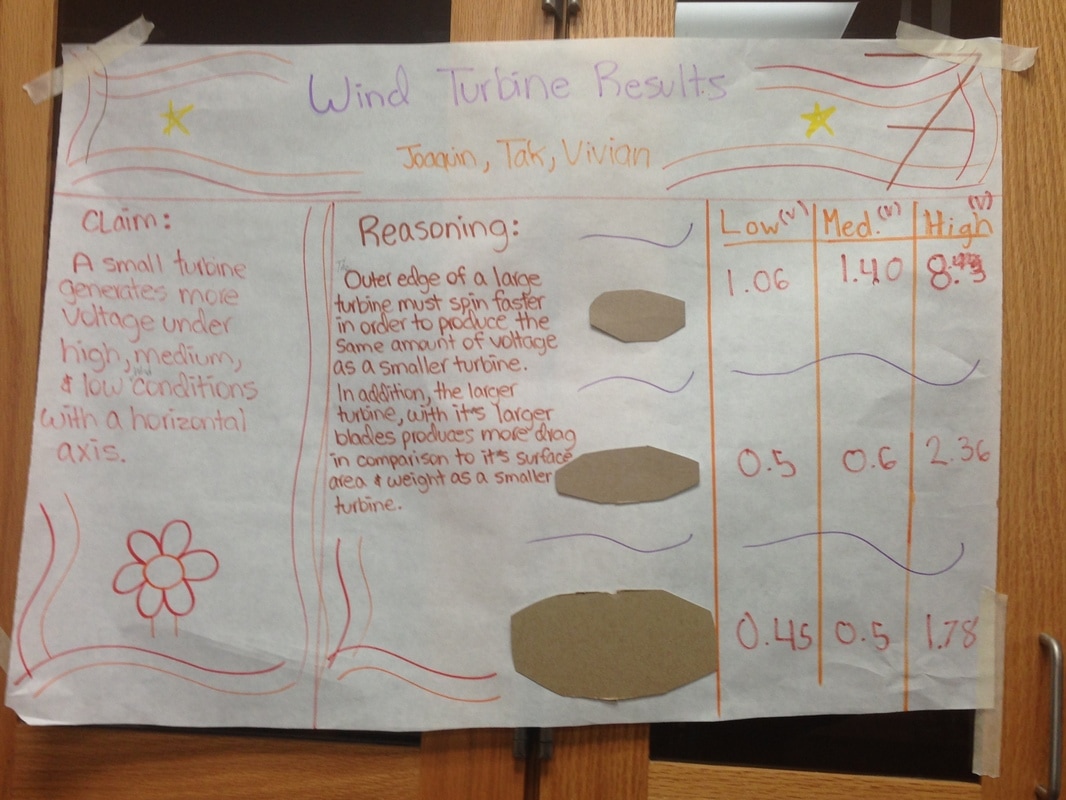
As an additional part of this project, we were tasked with creating a model wind turbine. We tested each blade and a pair by mounting them and putting it on a motor. We then attached a voltmeter, and tested the turbine under three conditions. The low and medium conditions were the low and high settings on a small house fan. The high setting was a leaf blower, positioned in front of the turbine. Our claim, reasoning, and data are pictured below.
Why do we need this house in the first place? In this document, we attempted to compare different types of energy sources and their efficacy.
This project was one of the longest and most intensive of the projects this year. Therefore, I am rather thankful that I had a productive group. By dividing all up the work, we quickly finished this project, enabling us to refine and increase the quality of our product. I was responsible for the 3-D model, budget, and presentation. Another thing that our group did well was to enable all our members to contribute. Therefore, our final product all our marks on it. As an individual, I grew more able to organize tasks. This meant that I could spend less time micromanaging small tasks that others could easily complete. This also brings me into another thing that I thought I did well on this project. I believe that I improved in terms of working under people. An example might be where I picked materials in conjunction with our interior designer's plan
However, not all aspects of our project were so rosy. Our constant revision lead to us working up right up until presentation day. This left us one lunch period to practice our presentation. This demonstrates how we need to keep working towards a more comprehensive time budget plan, that leaves us enough time to review the material. In addition, one portion of our grade that suffered was answering questions. Due to our segmenting of our work, nobody had a comprehensive plan of our project. This lead to us not being able to answer specific questions. For example, I did material sourcing and pricing of the insulation, but did not know why we picked that product. And other members did not know what insulation we had. This lack of communication needs to be something that I will work on with future projects.
However, not all aspects of our project were so rosy. Our constant revision lead to us working up right up until presentation day. This left us one lunch period to practice our presentation. This demonstrates how we need to keep working towards a more comprehensive time budget plan, that leaves us enough time to review the material. In addition, one portion of our grade that suffered was answering questions. Due to our segmenting of our work, nobody had a comprehensive plan of our project. This lead to us not being able to answer specific questions. For example, I did material sourcing and pricing of the insulation, but did not know why we picked that product. And other members did not know what insulation we had. This lack of communication needs to be something that I will work on with future projects.
