Making a Better Bridge
What We Did
Notes on the Slides
The problem is that the current of a flowing rivers creates water pressure on the columns of the bridge, causing them to collapse. To fix this problem, many different methods have been tested. Some of these methods are simply reinforcing the pillars or trying to ease the flow of the water with various mechanisms. The solution we went with is changing the pillar shape to split up strong water currents. This works by creating a football shaped pillar pointing into the current, that divides the current, forcing the strong water to flow around the pillar instead of into it. This helps to relieve much of the pressure put on the supports.
Another problem with bridge structures is their earthquake weakness. Strong earthquakes can easily destroy or damage bridges beyond repair. Some solutions to this are shock absorbing devices or extra reinforcements. The solution we chose was memory cables. These cables run throughout our support columns so in the event of an earthquake, the cables snap back the bridge into place when displaced.
Bridge engineers today have to contend with a very real fear of fire. We have found that switching the material greatly aids the problem. The material we went with was prestressed concrete supports. We chose this because it is non flammable, and does not compromise the strength of the bridge.
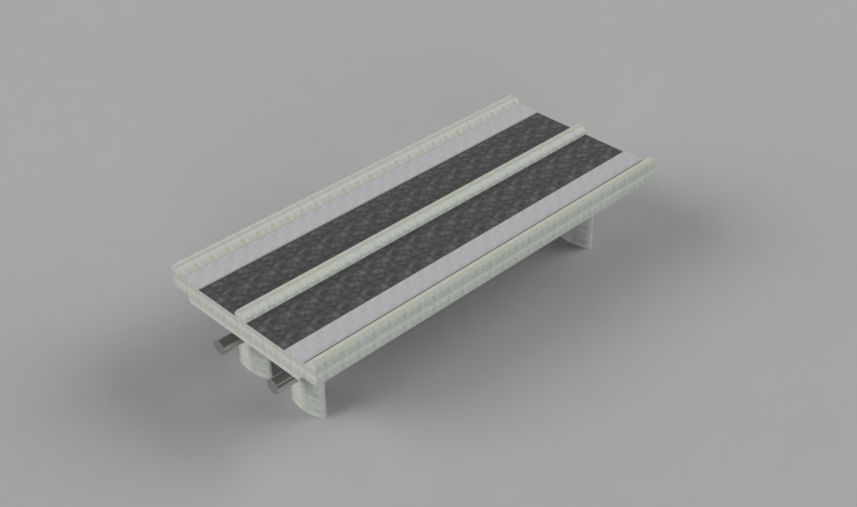
Slide 10 is a picture of version 2 of our bridge. The bridge is ill formed and there are no memory cables. The next slide is of version 8, with the memory cables installed. Version ten incorporates materials, crash barriers, and the median. The final version, number 30, has the materials set, sidewalks placed, and the bridge is set to scale.
Our first test was on hydrodynamics. We made clay models of our bridge pillars and simulated a water flow. We found that out of the shapes we tested, our football shaped pillar was more efficient than others. Our second test was a stress test, performed on a computer. We found that when extreme scenarios were tested, the bridge appeared to withstand the burden and function as normal. However, due to our lack of knowledge of the simulation, it is possible that we made an error. In terms of the safety of our design, the crash barriers, medians, and sidewalks exceed industry guidelines.
The construction process starts with the fabrication of the materials off site. This is done in order to reduce construction costs. During the installation phase, all the parts are transported to the bridge. First, the pillars are planted. Second, the girders are laid over, and secured to the embankments. Also, the memory components are installed. Finally, the bridge deck is installed, as well as the crash barriers. The final step is rigorous testing to ensure that nothing went wrong in the construction process. The reason for this is that errors in construction account for a large proportion of bridge failures. An estimate for the cost is not available due to the large variability.
From here, there would still be a long road to travel. We would first review what we have done and spend some more time refining our ideas. We would also create a more comprehensive model, first on a computer, then an actual model. This would aid in tests such as a shake table or a wind tunnel. We would then ask another party to give their opinion and advice to catch any errors we may have made. The next steps would be to create a site specific plan and to begin construction.
The ProjectThis project was one of the most open ended I have ever received. We were to design an engineering solution to a problem facing the world. This was left intentionally vauge. The problems brainstormed by our class ranged from overpopulation to tangled headphones. The solutions also ranged widely (one can only imagine the ideas that were produced in the case of overpopulation). I selected infrastructure as a problem that I would a chance to help solve. After finding a group of like-minded individuals, we set to work on our selection. Bridges.
|
Our ProcessOur plans and ideas were constantly in motion. Our final product, shown above, was formed after no less than 30 versions. Our class began this unit by congregating into several different groups, based upon our interests in solving similar problems. After we were in our groups, we brainstormed many different ways to help alleviate our problem. What we came up with is a disaster resistant bridge. From there, we conducted an investigation to try and find ways to improve current bridges. We used many sources, and computed and analyzed the best way to do this (as shown in our presentation). However, we were still left with a plethora of options to choose from. Within our group, we used the evidence available (an conducted some experiments) to try and get the best of everything. We then constructed our explanations for our decisions, and made our model on Autocad Fusion. This allowed us to test our model under stress conditions. We then presented our model to our class, and incorporated some suggestions into a new model.
|
